Getting started
This walks from install to your first served, pausable agent. When you're ready to write a real agent end to end, continue to Your First Agent.
1. Install
Install the prebuilt binary (nothing else needed — no Node, Python, or Rust toolchain):
curl -fsSL https://raw.githubusercontent.com/ThousandBirdsInc/chidori/main/scripts/install.sh | sh2. Connect a model
chidori model-loginchidori model-login signs you in to OpenRouter through your browser and
saves a key to ~/.chidori/credentials.json — it is used automatically
whenever no provider key is configured. Already have a provider key? Export
it instead:
export ANTHROPIC_API_KEY=sk-ant-... # or OPENAI_API_KEY, or a compatible endpointAny Anthropic, OpenAI, or OpenAI-compatible provider works — see Providers & model selection.
No key at all? The hello agent in step 4 runs without one, and so do several of the
chidori demoexamples if you have a repo checkout (see the callout below).
3. The 30-second win: chat with the docs
chidori init my-agent --template docs
cd my-agent
chidori chat agent.ts
chidori init scaffolds a small starter project; the docs template is an
agent that chats with a bundled copy of the Chidori docs — ask it anything
about Chidori. (chat and worker templates scaffold a conversational
assistant and an autonomous tool-loop agent.)
Every chat turn is durable: the session id announced at start is a run id,
each turn journals to .chidori/runs/<session_id>/, and
chidori chat agent.ts --resume <session_id> replays the prior turns from
the journal for $0 before continuing the conversation.
4. Run your own file
An agent is one ordinary TypeScript file. Save this as hello.ts (it makes
no LLM call, so it runs without a key):
import { chidori, run } from "chidori:agent";

run(async (input: { name?: string }) => {
  await chidori.log("Greeting", { name: input.name });
  return { greeting: `Hello, ${input.name ?? "world"}!` };
});
chidori run hello.ts --input name=ColtonExpected output:
{
  "greeting": "Hello, Colton!"
}
What this demonstrates:
- The agent imports
{ chidori, run }fromchidori:agentand registers its handler withrun(async (input) => …). chidori.log(...)is a host call, so the runtime records it in the journal (the run's call log).- The agent returns plain JSON, which is what CLI, server, and SDK users receive.
- A run directory is written under
.chidori/runs/<run_id>/next to the agent file — the journal plus snapshot that power the trace/replay workflows below.
Editor setup: add
/// <reference types="@1kbirds/chidori/agent-env" />at the top of the file to get full types forchidori:agentin your editor — see the Host API.
Approval prompts:
chidori runasks at the terminal before powerful effects (network, tool calls, workspace writes, app data) — the full posture table is in the CLI reference.
5. Inspect the run
RUN_ID=$(ls -t .chidori/runs | head -1)
chidori trace "$RUN_ID"
chidori snapshot "$RUN_ID"
chidori trace prints the journal — every host call with its result, and
for LLM calls the token counts and cost. chidori snapshot shows the run's
snapshot manifest metadata.
From a repo checkout: contributors with the repo cloned can also run
chidori demo, an interactive picker over the bundledexamples/agents/*.tsdemos (it hardcodes repo-relative paths, so it only works from the checkout root — several demos need no provider key). Build from source withcargo build --releaseand invoke./target/release/chidoriwherever these pages saychidori.
6. Pause and resume over HTTP
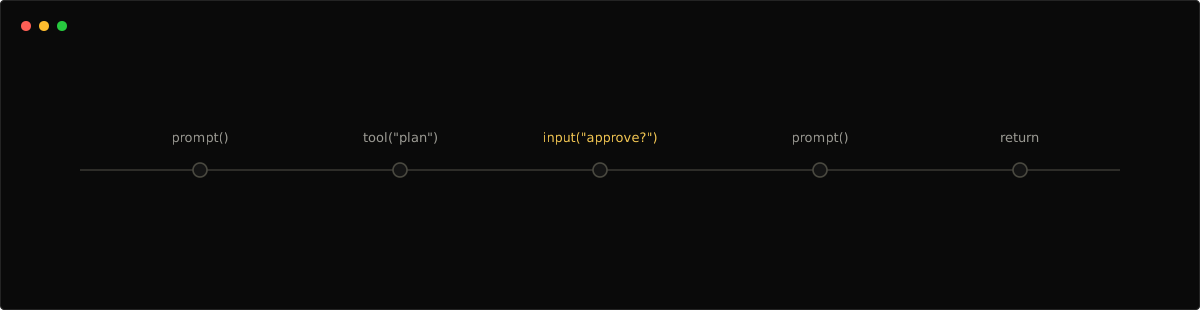
This demo shows the session API pausing on chidori.input(...) and resuming
from the persisted journal:
Save this as approve.ts:
import { chidori, run } from "chidori:agent";

run(async (input: { request: string }) => {
  const answer = await chidori.input("Approve this request?", {
    type: "approval",
    choices: ["yes", "no"],
  });
  return { request: input.request, approved: answer === "yes" };
});
Start the server:
chidori serve approve.ts --port 8080In another terminal, create a session:
curl -s http://localhost:8080/sessions \
  -H "Content-Type: application/json" \
  -d '{"input":{"request":"ship the TypeScript runtime"}}'
The response will have "status":"paused", an "id", and
"pending_prompt":"Approve this request?". A session id is a run id — the
session's journal lives in .chidori/runs/<session_id>/. Resume it with:
SESSION_ID=<paste id from the previous response>

curl -s http://localhost:8080/sessions/$SESSION_ID/resume \
  -H "Content-Type: application/json" \
  -d '{"response":"yes"}'
The completed response includes:
{
  "output": {
    "request": "ship the TypeScript runtime",
    "approved": true
  }
}
That flow is the core Chidori loop: TypeScript code runs until a host call pauses, Chidori persists the run, and resume re-executes the agent against the journal to continue from where it paused. The full endpoint list is in Running Modes.
Example agents
See examples/:
agents/hello.ts— minimal agent, no LLMagents/summarizer.ts— LLM summary pipelineagents/context_qa.ts— cache-aware multi-turn Q&A viachidori.contextagents/streaming_progress.ts— labelled prompt progress streamsagents/webhook.ts— outbound HTTP call from an agent viafetchagents/tool_use.ts— a tool defined inline withdefineToolsdk_demo.py— Python SDK with checkpointing + replayprompts/analysis.jinja— shared prompt template